2010. 5. 23. 19:07ㆍ99. 정리전 - IT/11. Java
이전 포스트(Spring Framework 다운로드) 참조 => http://blog.naver.com/sungback/90036900896
0. http://www.springsource.org/download 링크를 따라가서
spring-framework-2.5.6-with-dependencies.zip 을 다운받아 압축 해제한다.
1. 이클립스에서 File -> New -> Dynamic Web Project -> hellospring 이라고 하자.
2. WEB-INF -> lib 폴더에 아래 그림처럼 jar 파일을 복사한다.
1) 압축 해제 폴더\dist\spring.jar
2) 압축 해제 폴더\dist\modules\spring-webmvc.jar
3) 압축 해제 폴더\lib\jakarta-commons\commons-logging.jar

3. web.xml 을 아래와 같이 수정한다.
<?xml version="1.0" encoding="UTF-8"?>
<web-app xmlns:xsi="http://www.w3.org/2001/XMLSchema-instance"
xmlns="http://java.sun.com/xml/ns/javaee" xmlns:web="http://java.sun.com/xml/ns/javaee/web-app_2_5.xsd"
xsi:schemaLocation="http://java.sun.com/xml/ns/javaee http://java.sun.com/xml/ns/javaee/web-app_2_5.xsd"
id="WebApp_ID" version="2.5">
<display-name>hellospring</display-name>
<servlet>
<servlet-name>spring2</servlet-name>
<servlet-class>org.springframework.web.servlet.DispatcherServlet</servlet-class>
<load-on-startup>1</load-on-startup>
</servlet>
<servlet-mapping>
<servlet-name>spring2</servlet-name>
<url-pattern>*.htm</url-pattern>
</servlet-mapping>
<welcome-file-list>
<welcome-file>index.html</welcome-file>
<welcome-file>index.htm</welcome-file>
<welcome-file>index.jsp</welcome-file>
<welcome-file>default.html</welcome-file>
<welcome-file>default.htm</welcome-file>
<welcome-file>default.jsp</welcome-file>
</welcome-file-list>
</web-app>
4. Java Resource: src -> 우클릭 -> New -> Class

아래 소스 작성
package hellospring.web;
import javax.servlet.http.HttpServletRequest;
import javax.servlet.http.HttpServletResponse;
import org.apache.commons.logging.Log;
import org.apache.commons.logging.LogFactory;
import org.springframework.web.servlet.ModelAndView;
import org.springframework.web.servlet.mvc.Controller;
public class HelloController implements Controller {
protected final Log logger = LogFactory.getLog(getClass());
@Override
public ModelAndView handleRequest(HttpServletRequest request,
HttpServletResponse response) throws Exception {
logger.info("hello 예제 정상 작동");//로그 메세지 보여준다.
request.setAttribute("name", "홍길동");//name 홍길동 셋팅.
return new ModelAndView("hello.jsp");//hello.jsp 로 가라.
}
}
5. WebContent -> 우클릭 -> JSP -> hello.jsp
<%@ page language="java" contentType="text/html; charset=UTF-8"
pageEncoding="UTF-8"%>
<html>
<head>
<meta http-equiv="Content-Type" content="text/html; charset=UTF-8">
<title>Hello Spring 예제</title>
</head>
<body>
<h3>Hello Spring 예제</h3>
Hello!!! <%=request.getAttribute("name") %>
</body>
</html>
6. WEB-INF -> 우클릭 -> spring2-servlet.xml -> [Finish]
규칙 : web.xml 에서 정의한 서블릿 이름인 spring2-servlet.xml 로 만들어야 한다.
아래의 소스를 작성한다. (url 인 /hello.htm 을 처리할 클래스 HelloController 에 맵핑시킨다.)
<?xml version="1.0" encoding="UTF-8"?>
<beans xmlns="http://www.springframework.org/schema/beans"
xmlns:xsi="http://www.w3.org/2001/XMLSchema-instance"
xsi:schemaLocation="http://www.springframework.org/schema/beans
http://www.springframework.org/schema/beans/spring-beans-2.5.xsd">
<bean name="/hello.htm" class="hellospring.web.HelloController"/>
</beans>
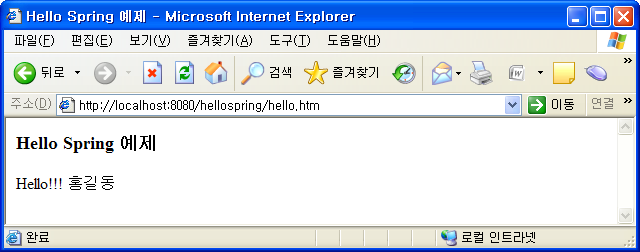
7. 서버 시작 후 http://localhost:8080/hellospring/hello.htm 테스트